If you’ve ever cut a tube to what looked like the right length, only to bend it and find the final piece a few millimeters short — or watched a “90°” bend spring back to 87° the moment you release the clamp — you already know why tube bending calculation matters. Getting these numbers wrong doesn’t just waste material. It eats into your production time, your tooling setup, and sometimes an entire batch.
This guide walks you through tube bending calculation the way working fabricators actually use it: the four core numbers behind almost every job, a worked cut-length example you can apply today, reference ranges by material, and how the same math runs inside a CNC bender.
What is tube bending calculation? The core numbers explained
Before you touch a formula, it helps to understand what each calculation is actually solving for. Tube bending calculation comes down to four numbers that show up in almost every job, and they build on each other.
Centerline radius (CLR): the foundation of every other calculation
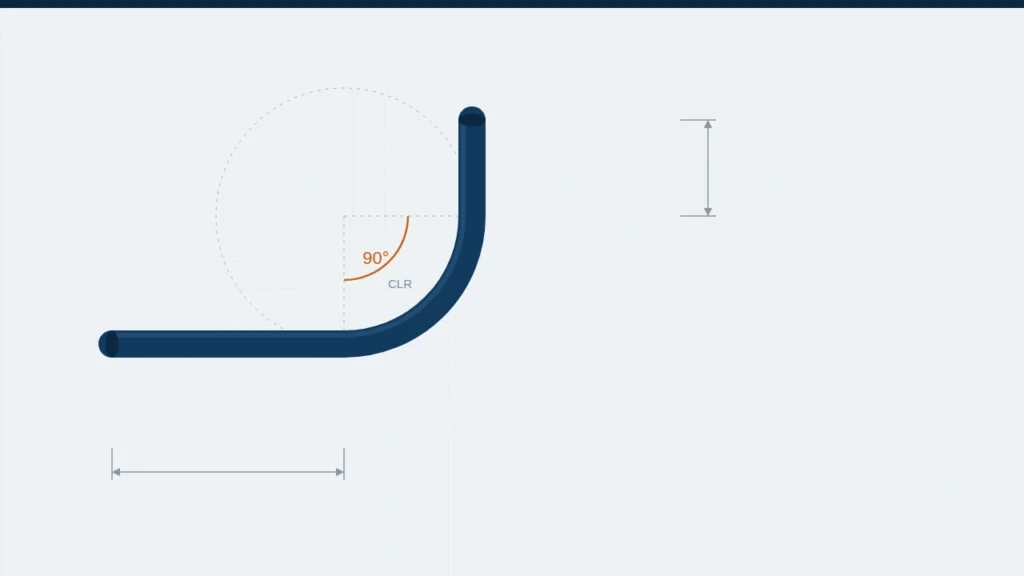
The centerline radius is the radius measured from the center of the bend to the centerline of the tube — not the inside edge, not the outside edge, but the neutral path the tube’s core follows. Every downstream calculation, from bend allowance to setback, starts from CLR.
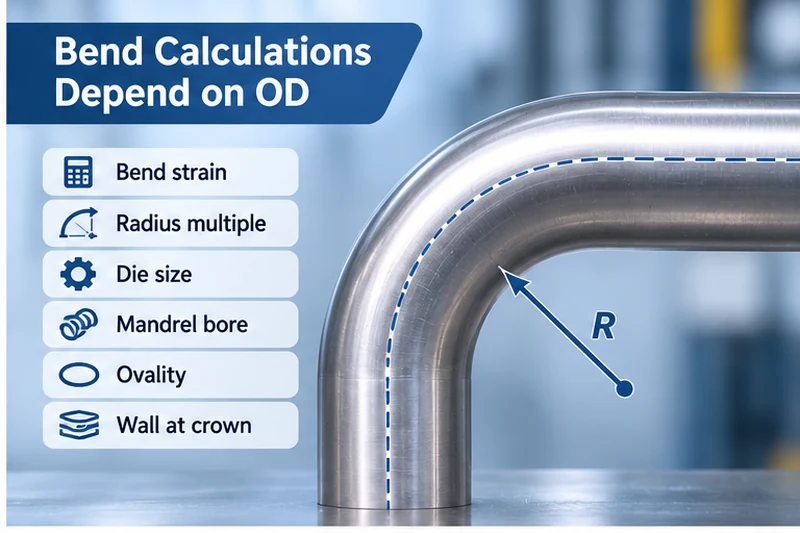
In practice, CLR is a property of your tooling (the die), not something you calculate from scratch each time. A common shorthand is expressing CLR as a multiple of the tube’s outside diameter — a “2D bend” means CLR = 2 × OD. Tighter ratios (1.5D) increase wall thinning and ovality risk; looser ratios (3D–4D) are gentler on the material but consume more length and floor space. If a drawing or a measured part gives you an inside or outside radius instead of CLR, convert it before calculating — the bending radius calculation guide covers the conversions and the chord-and-sagitta method for measuring an existing bend.
For the material-based lower limit, see the minimum bend radius calculation.
Bend allowance and setback: how much material a bend actually consumes
Bend allowance is the length of tube “used up” by the curve itself — the arc length along the tube centerline. If you don’t account for it, your cut-to-length calculations will always come up short, because the straight sections you measure don’t include the material consumed inside the bend.
Setback is a related but different number: the distance from the tangent point back to where two straight sections would theoretically intersect if there were no bend at all. It matters most when you’re locating a bend at a specific point along a tube.
Springback: why your finished angle is never exactly your machine setting
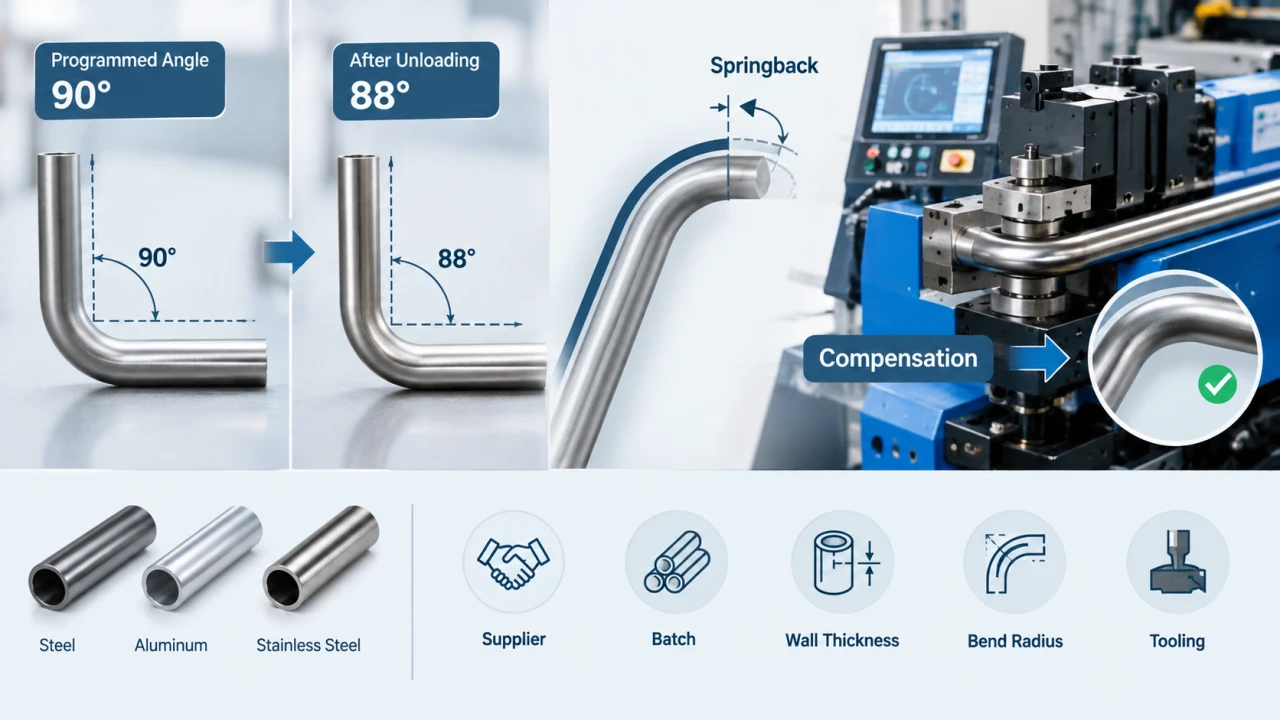
Springback is the tube’s tendency to elastically recover the instant bending force is released. It’s why a die set to bend 90° often produces a finished part closer to 86–87° in mild steel, and why harder alloys like stainless steel or 4130 chromoly spring back even more.
Wall thinning and ovality: the structural side of the math
Every bend stretches the outer wall of the tube and compresses the inner wall — reducing wall thickness on the outside of the bend and sometimes flattening the cross-section into an oval. If you’re bending pressure-rated tubing or structural components, this calculation isn’t optional. See our deeper guide on tube wall thinning during bending.
Step-by-step tube bending calculation: bend allowance and total cut length
For tube work the allowance is the arc length along the centreline, so the formula uses CLR directly: Bend Allowance = bend angle in radians × CLR, where the angle in radians is degrees × 0.01745, and Total Cut Length = straight section 1 + allowance + straight section 2. Wall thickness does not appear in the centreline formula, though it still governs springback, thinning and whether the bend is feasible at all. Worked examples, the K-factor distinction against sheet-metal conventions, and the developed-length method for multi-bend parts are in bend allowance and developed length.
The core formulas at a glance
| Calculation | Formula | Inputs |
|---|---|---|
| Bend allowance (angle in degrees) | BA = π × CLR × A / 180 | CLR, bend angle A |
| Bend allowance (angle in radians) | BA = θ × CLR | CLR, bend angle θ in radians |
| Total cut length (one bend) | L = Straight 1 + BA + Straight 2 | Straight sections measured to the tangent points |
| Setback | SB = CLR × tan(A / 2) | CLR, bend angle A |
Every formula in this guide is one of these four, or a combination of them. If a number on a job doesn’t trace back to one of these, check which convention produced it before you cut.
Springback and K-factor by material: what the numbers actually look like
K-factor and springback are not universal numbers — they move with material, and carrying a value across materials without re-checking it is the most common calculation error. The ranges below are a starting point for a trial, not constants. Why the values differ, and how to measure the actual recovery on your own tube, is in what is springback in tube bending.
| Material | Typical K-Factor Range | Typical Springback (90° bend, moderate CLR) |
|---|---|---|
| Mild / carbon steel | 0.40–0.50 | 2°–5° |
| DOM steel | 0.40–0.50 | 3°–5° |
| Stainless steel (304/316) | 0.35–0.45 | 4°–7° |
| Aluminum (annealed) | 0.40–0.50 | 1°–3° |
| Copper | 0.45–0.50 | 1°–2° |
| 4130 chromoly | 0.35–0.45 | 4°–8° |
From formula to machine: how CNC tube benders handle these calculations
Here’s the part most tube bending calculation guides skip entirely: once you’ve worked out your bend allowance, K-factor, and springback compensation by hand, how does that translate into what the machine actually does?
Manual calculation and overbend
Recalculate bend allowance and springback by hand for every new material, wall thickness, or CLR. Verify with a test bend each time. Works for single jobs — becomes a bottleneck with mixed materials or multi-bend parts, and errors compound across setups.
Servo-controlled CNC compensation
Bend angle, rotation, and feed length are closed-loop controlled to around ±0.1°/±0.1mm. Once a springback setup is characterized for a material and wall thickness, it’s saved as a program — some systems store 200–500 — and reused instead of re-measured every time.
Why manual recalculation doesn’t scale for multi-bend or multi-material production
Recalculating springback and bend allowance by hand works fine for a single job. It becomes a real bottleneck the moment you’re running mixed materials, multiple wall thicknesses, or parts with several bends in different planes.
How servo-controlled bending stores and reuses compensation values
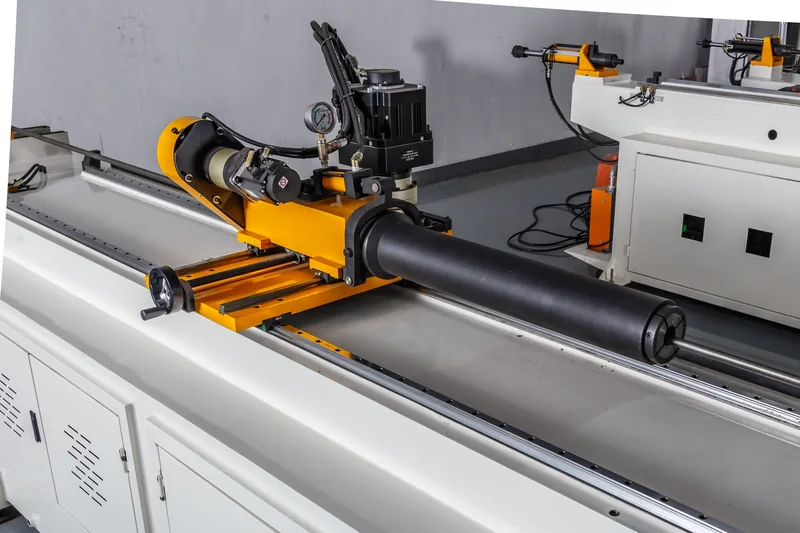
Many CNC systems let you input data either as direct coordinates (X, Y, Z) or as working values (Y, B, C) — bend angle, rotation angle, and feed length — so the same math you just worked through by hand maps directly onto machine parameters instead of a separate manual step. Learn more in our guide to how a CNC tube bender works.
Multi-bend parts: the same math, repeated
On a multi-bend part, each bend consumes its own allowance, and the cut length is the sum of all straight sections plus all bend allowances. The bend allowance guide works through the developed-length method — tangent lengths, setback, and the multi-bend summation — with its own worked examples and a quick-reference table by bend angle.
Where errors typically accumulate across multiple bends
The most common mistake on multi-bend parts is marking clamp positions from the wrong reference point. Every bend’s start and end point should be measured from the tangent point — not the tube’s raw end. A small error on bend two or three compounds into a part visibly off by the final bend.
Which calculation do you need?
Most calculation problems on the shop floor are one of five. Match the symptom to the number before reaching for a formula:
| Symptom on the part or the job | The number you need | What it depends on |
|---|---|---|
| Blank comes out short or long | Bend allowance and total cut length | CLR and bend angle, straights measured to tangent points |
| Bend lands in the wrong position along the tube | Setback | CLR and bend angle; where you reference the bend from |
| Finished angle is off target after release | Springback, corrected by overbend compensation | Material, wall thickness, CLR — verified by test bend |
| Wall may fail a pressure or structural requirement | Wall thinning at the bend | CLR-to-OD ratio, wall thickness, material |
| Drawing radius is given as inside or outside radius | Radius conversion to CLR — before any other math | Tube OD and which radius the drawing states |
Running the wrong calculation correctly is still the wrong answer. Two minutes spent identifying which row you’re in saves the tube.
Common calculation mistakes (and how to avoid them)
Using the wrong K-factor for the material
Applying a generic 0.5 K-factor across every material — especially when switching from mild steel to stainless or chromoly — introduces error that grows with wall thickness and tightens with CLR. And if your radius is already specified as CLR, adding a K-factor term at all double-counts the correction.
Forgetting to account for springback before cutting
Springback correction needs to happen at the machine-setting stage, not as an afterthought once the part is already out of tolerance. See our explainer on what is springback in tube bending.
Confusing bend allowance with bend deduction
Bend allowance is the length consumed by the curve itself. Bend deduction is a related but distinct concept more common in sheet metal bending — SendCutSend’s guide to bend allowance and bend deduction covers the flat-pattern side — and it’s occasionally misapplied to tube calculations.
Frequently asked questions
What is the formula for tube bending calculation?
The core formula is Bend Allowance = Bend Angle (in radians) × CLR. Add the bend allowance to your straight sections to get total cut length.
How do you calculate springback in tube bending?
Bend a test piece to your target angle, measure the actual resting angle after release, and the difference is your springback value for that material and setup.
What is a good K-factor for tube bending?
Most applications use a K-factor between 0.35 and 0.5, depending on material and wall thickness. It applies when you locate the neutral axis from an inside radius; a CLR-based calculation doesn’t use it.
What’s the difference between bend allowance and bend deduction?
Bend allowance is the material consumed by the bend’s arc. Bend deduction is a distinct sheet-metal-bending concept used to calculate flat pattern length.
How much material does a 90° bend consume?
A 90° bend on a 4-inch CLR die with a 2-inch OD tube consumes roughly 6.28 inches of material, using the centerline bend allowance formula.
Can CNC tube benders calculate bend allowance automatically?
CNC machines don’t eliminate the need to understand these formulas, but a characterized setup can be saved and reused rather than recalculated by hand for every job.
Does wall thickness affect springback?
Yes. Thinner walls relative to CLR generally increase springback because there’s less material resisting elastic recovery.
How accurate does tube bending calculation need to be?
For most fabrication work, aim for cut lengths within a few hundredths of an inch and bend angles within a degree or two before springback correction. Tighter tolerances typically call for a verified test bend rather than formula results alone.
Tube bending calculation: getting the numbers right, every time
Tube bending calculation isn’t a one-time formula you memorize and forget — it’s a set of numbers that shift with every change in material, wall thickness, and bend geometry. Getting bend allowance, springback, and cut length right the first time saves material, saves setup time, and keeps your parts within tolerance from the first piece to the last.
Still recalculating springback by hand on every material change? If repeated test-bend scrap is becoming a real cost on your production runs, our engineering team can walk through your specific tube specifications and bending requirements.